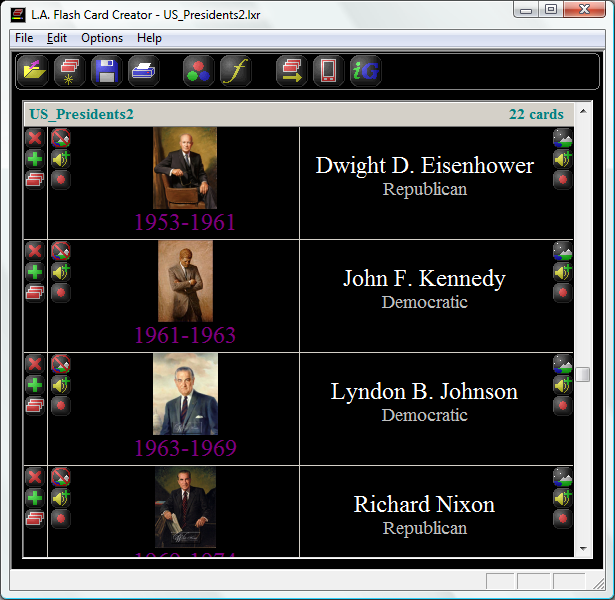
The Flash Card Creator displays all the cards of a flash card set in a tabular array.
Each horizontal row of the table represents one card, the left side displays
one side of the card (normally the "Question" side or first side presented to
you in the Flash Card Presenter), the right side shows the flip side
(normally the "Answer" side, or the second side presented to you in the Presenter).
Down both sides
of the table are control buttons which allow you to perform various operations
on the card or on a side of the card.
Each time you add something to a new card (either text by typing into a card side,
or an image or an audio track) a new empty card will be automatically created below it.
See below for a description of the screen controls. Click here for help on the menu controls.

|
Opens an existing flash card set.
|

|
Clears the current contents to start a new flash card set.
|

|
Saves changes to the current flash card set.
|

|
Prints the flash card set if you want to learn the old fashioned way.
|

|
Opens a dialog allowing you to set the background color of each side of the current card (the card with the text cursor) or all cards.
|

|
Opens a dialog allowing you to set the font of the text, as well as paragraph alignment.
|

|
Opens the card set into the Flashcard Presenter so you can start learning. You can also open the set into the Presenter by double clicking
on the saved file.
|

|
Allows you to learn the flash cards from your mobile device, such as a mobile phone, iPhone, iPod etc. Pressing this button will
upload the set to our server, and if your phone has a web browser and can access
the internet (and you don't use Opera Mini), then you should be able to open the set. Click here for more info.
|

|
Converts the flash card set into a web browser based Google Gadget. You can add the gadget to your iGoogle home page, or if you don't have
one or prefer to, add it
to your online library. Click here for more info.
|
Editing a card
|
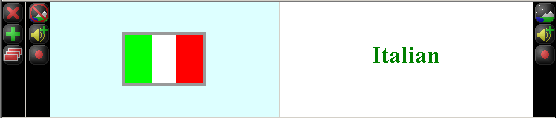
The Flash Card Creator displays all the cards of a flash card set in a tabular array as shown above.
Each row of the table represents one card, showing both sides. Below is shown the Italian flag on
the A side, and on the B side the word "Italian".
Each row has its own set of control buttons (shown here on the far left), and each side of the card has
another set of controls.
The row control buttons are shown down the far left side of the table.
With these controls you can delete  a card, insert
  a new card above the row,
or add a new card above the row,
or add  the card to another flash card set. the card to another flash card set.
The card side controls allow you to add  an image for that side,
add
an image for that side,
add  an audio track or
record an audio track or
record  your own
audio track. If an audio track has been added to that side a play your own
audio track. If an audio track has been added to that side a play
 button will appear. button will appear.
Recognised
image formats are GIF, PNG, JPG, BMP or ICO.
You can also add image files by dragging and dropping the file onto the card side,
or you can copy and paste the file. If you drag and drop or copy and paste
multiple image files at once, as many cards as necessary will be created and
a different image will be placed on each card. Once you have added an image,
the button will change to show  ,
indicating you can now use this button to remove the image. ,
indicating you can now use this button to remove the image.
Recognised audio formats are WAV and MP3.
As with images you can also add audio files by dragging and dropping the files onto the
card side, or you can copy and paste the files.
Once you have added an audio file, the button will change to show a
 ,
indicating you can now use this button to remove the audio track. ,
indicating you can now use this button to remove the audio track.
Apart from adding a pre-existing audio file you can also record your
own if you have a microphone. To start recording press the
button once,
to stop the recording press it again.
|
|